RC Boat Motor Mount
Want plans for this project? Get them at the Plan Store.
RC boat motor mount
An RC boat motor can be mounted in as many ways as there are model boat builders. I've seen everything from a glob of hot-melt glue to slick and colorful anodized aluminum brackets to hold that power plant.
Personally, I've always been in favor of a simple solution that gets the job done. That's not to say I'd glue my motors into my boats. I do appreciate the option to be able to remove or replace the motor easily, if need be.

|
Another thing to note is that I don't build high performance boats, so copy my rubber-band mount for your Mega Power output brushless motor at your own peril.
My two favorite mounts are:
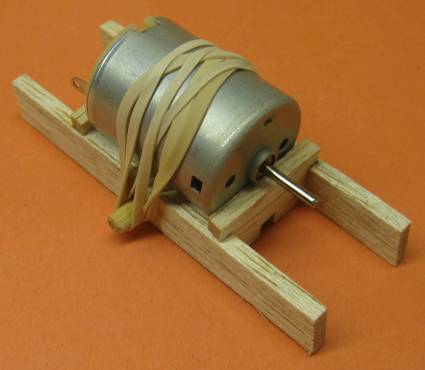
- A homemade motor bed with the motor held in place with a rubber band.
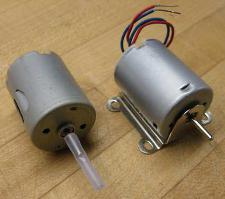
- A commercial but inexpensive motor bracket that can be bolted down from the top
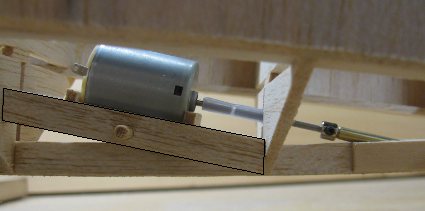
I don't like face mounting my motors. Most RC boats have a direct-drive where the motor face is pointing down towards the bilge at a shallow angle. It makes it very difficult to access the screws and almost impossible to see what you're doing if you need to remove or reattach the motor.

|
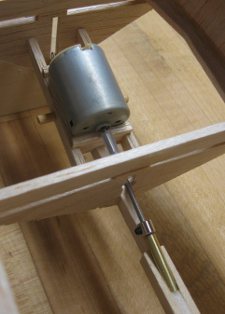
For the prototype RC Cabin Cruiser I built, I ended up making the motor mount from scratch. If I had to do it over again, I'd get the Aristo-Craft motor with the simple, but perfectly adequate motor mount included. I would have made a simple flat piece of 1/8" (3mm) plywood with a cut-out for the keel spanning between bulkhead 2 & 3 for the mount to sit on.
Motor Coupling Efficiency
Between the motor and propeller shaft a compliant coupling should be used. There are several different commercial types, but my three favorites are (from low to high torque):
- A piece of silicone rubber tubing
- A rubber coupling with metal inserts in each end
- Universal joint
One of the most overlooked aspects when installing a motor in a model boat is the alignment of the motor and propeller shaft. Too many builders believe that because a compliant coupling is used having an angle between the two shafts is OK. This is a misunderstanding.

|
The purpose of the compliant coupling is to relieve the motor from strain and side loads due to misalignment. No motor installation is perfect, so the misalignment that does occur should be kept to a minimum.
A model boat with a misaligned motor will suffer unnecessary power loss and shorted life of the motor and coupling. The more power the motor generates the more important the alignment becomes. That means:
The bigger the boat, the more important alignment becomes
In effect, most effected motor types are: high performance brushed motors, all brushless and gas motors
Secure Motor Mounting
Just as important as the coupling is making sure the motor is mounted securely. If the motor can wiggle loose, the wires may get twisted and break or short out.

|
The reason I like rubber bands for small motors is that they have high friction against the motor can and prevent the motor from twisting. They also are compliant and hold the motor with spring pressure. Compliance helps dampen shock loads and is very resilient to vibrations compared to a more positive type of mounting.


