Easy-to-make RC
Model Boat Rudder
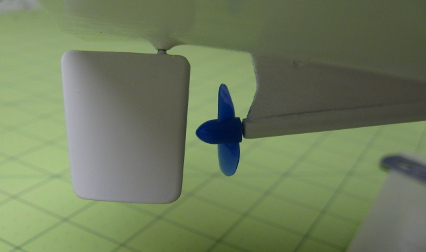 The rudder done and fitted to the RC Cabin Cruiser.
Here is an easy way to make a rudder. Specifically, this is how I made the rudder for the RC Cabin Cruiser plans that I offer, but the concept as a whole can just as easily be adapted to almost any "recreational" RC boat.
Step 1: Transfer the shape to your core material.
Pick out a core material. I used 1/16" Basswood, because I had some in my scrap bin. You could use thin plywood or medium-hard balsa or even styrene or fiber board. Make sure the thickness is the same as the rudder shaft you intend to use. 1.5 or 2mm will work just as well.
Mark the outline and where the shaft will live. As can be seen, the shaft has a 90-degree bend in it to prevent the shaft from loosening and turning the rudder into a pendant.
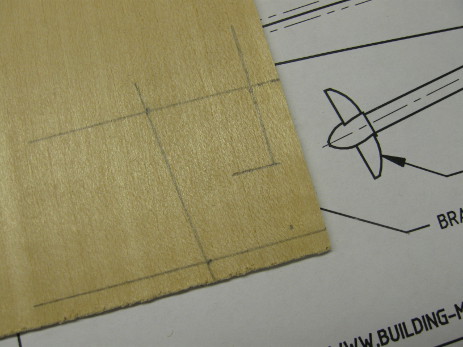 The outline of the rudder and the path for the shaft has been marked.
Step 2: Prep the rudder shaft
I used 1/16" brass rod available at most hobby and craft stores or in multiple places online. Leaving it long aids handling. Cut a 90-degree bend with pliers near one end. The shaft will center automatically on the rudder if its diameter is the same as the thickness of the rudder core.
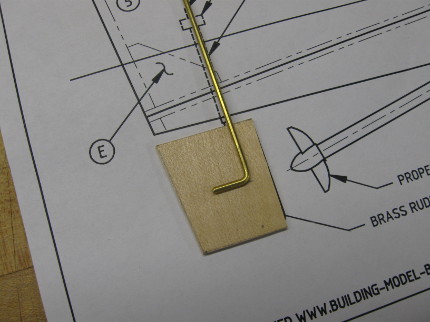 The outline has been trimmed. The shaft bent and laid on top.
Step 3: Cut a channel in the rudder core
Cut a channel in the rudder core to accommodate the shaft. In the picture below you can see that the channel is shorter than the wire. I trimmed the wire. Also note the chamfer on the inside corner of the cut to relieve the radius of the bent rod.
The channel doesn't have to be super tight. Most important is that the skins that will sandwich the core on either side will lay flush without the wire poking at it. Dry fit a lot and trim with an X-Acto knife or razor blade.
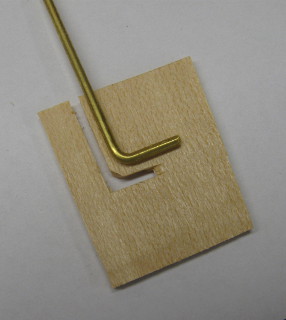 A channel for the rudder shaft cut.
Step 4: Prep the skin
Select material for skin to go on either side and capture the rudder shaft. I opted for Cereal box, but thin ply, styrene or epoxy/fiberglass are viable options. Cut them oversize. In the picture below I secured the shaft onto the core with a couple of drops of CA glue while shimming the upper end of the shaft with another piece of the Cereal box. This kept the shaft aligned on center of the rudder.
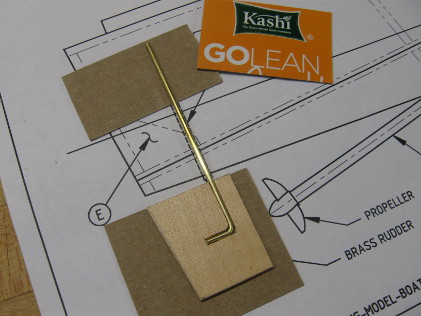 Cereal box used as "skin" in the three-piece-laminate.
Step 5: Glue it up
Glue it up with mode CA and put a clamp on it. You could also use epoxy.
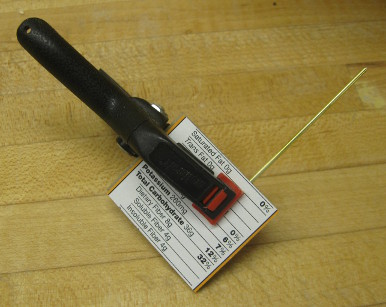 Rudder with both "skins" glued in place.
Step 6: Trim and Rough in the Shape
Once the glue is dry, trim excess material and start shaping the rudder to a symmetric aerofoil shape. Use sandpaper or other abrasive tools. If using Cereal box, sanding it down to the darker and courser fibers makes the board easier to seal as it is more absorbent.
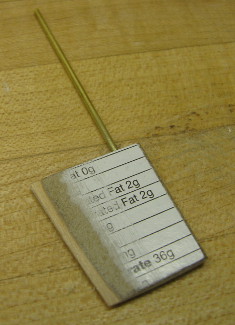 Excess material trimmed away and profile taking shape.
Step 7: Seal and Sand
First I sealed the entire rudder with CA glue. After letting it dry for a while I sanded with finer and finer grit sandpaper down to a 220. Then I applied dope (nitrocellulose lacquer).
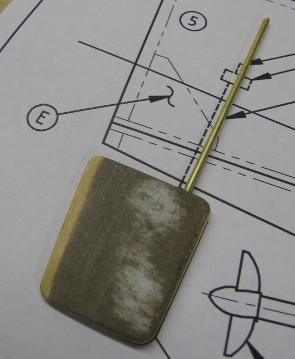 Rudder shaped and sealed with dope.
Step 8: Install shaft tube
The shaft tube is a piece of brass tube that the rudder shaft slip fits into - typically sold right next to the brass rod used for the shaft. The tube must be long enough to extend a short distance above the anticipated water line.
I typically purposely drill the hole in the hull too small. This way I can come back with a rat tail file and move or square up the hole if need be. The fit to the tube doesn't have to be snug, but it makes things easier if it is tight enough to stay where you put it even when you turn and tilt the hull.
I then lay the hull down on the table (stern facing me) and place a piece of extra rod left over from the rudder into the tube. By stepping back a little it becomes quite obvious if the tube is out of plumb. Correct as necessary.
When I'm close I replace the rod with the rudder itself. This way you can eyeball the angle front-to-back better.
I also let the tube protrude passed the bottom of the hull by a small amount, just so I know the rudder will ride on the tube and not the hull.
I'm a bit of a perfectionist, so once it looks "close enough" I place a dab of CA glue to hold it in place.
The picture below shows the tube installed with a linkage arm and servo bed. See this page for more on rudder linkages.
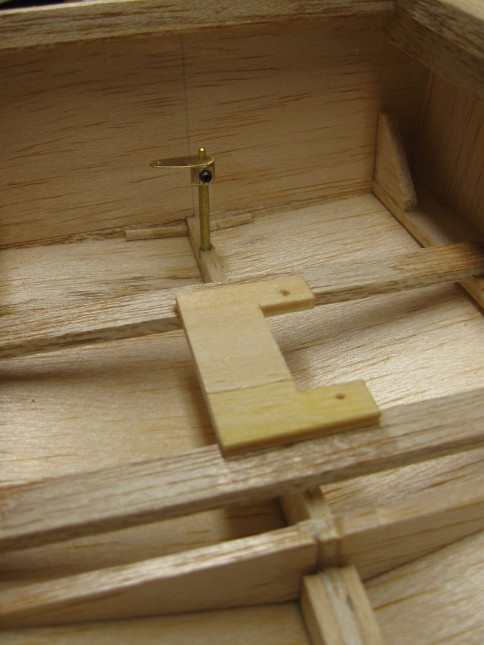 Inside view of hull looking aft.
Step 9: Paint
I masked of the shaft and spray painted the rudder. First I used an automotive primer, sanded again, and then applied 2-3 coats of top coat.
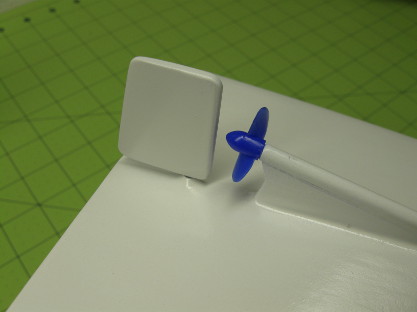 Rudder has been painted and mounted to the hull.


